
Running Hashcat 6.1.1 on Google Cloud with GPUs
Guide
Running Hashcat 6.1.1 on Google Cloud with GPUs
I have grown to really like using Google Cloud and its wide variety of GPUs for use. One of my favorite pentesting uses is an on-demand password cracking using Hashcat. Don’t get me wrong, a dedicated physical Hashcat GPU rig has advantages not to mention fun to build. There are many advantages (including cost) to have an on-demand Hashcat compute instance ready to go whenever you need it for production or testing purposes.
As with my previous post on using
Hashcat 5.1.0, I won’t be going into the use of Hashcat outside of a benchmark test. I will be using 8 GPUs instead of 4 which I am pretty excited about.
If you are interested in taking your Hashcat skills to another level I recommend reading “Hash Crack, Password Cracking Manual v3.0 by NETMUX“. This book is amazing and holds most of the answers you need when taking on a password or hash cracking assignment. As you can probably tell, this is one of my frequent “go to” books when performing hash cracking.
Sections
Change Quota – Create VM Instance – Install Hashcat
First, you may need to request a GPU limit increase.
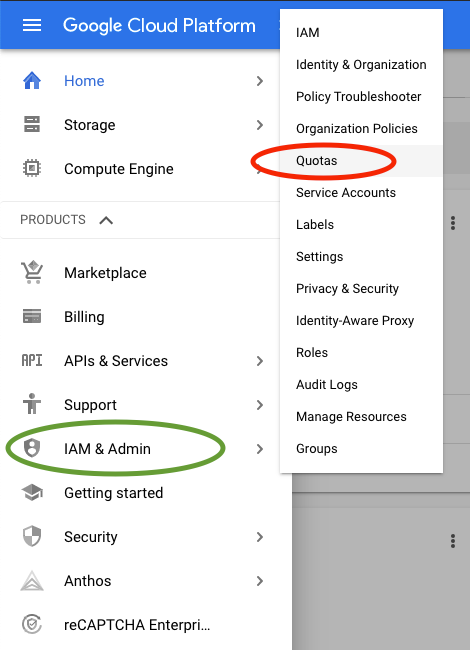
In the Google console, go to “IAM & admin” and select “Quotas”. I have a love/hate with the quotas interface. From a cost restriction perspective, it helps reduce the risks of going outside your budget. From the engineering level, it is time-consuming to get resources if they aren’t already allocated.
Change the GPUs (all regions) Quota.
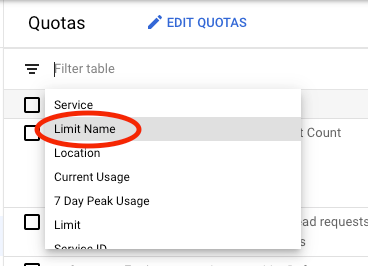
In the quotas interface, you will see all the quotas for your current Google Cloud Project. As when I am writing this there are around 1869 different quotas you can edit. The first thing we want to do is edit the restriction for how many GPU’s you can use total for your project. To filter for only the All-Regions GPU quota by selecting “Limit Name” in the “filter table” area by the 3 parallel lines.
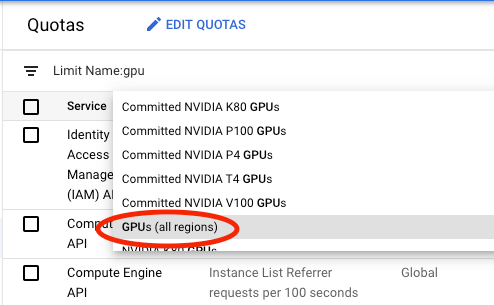
Then enter enter “gpu” after the “Limit Name:” filter and select “GPUs (all regions).
Now that we have filtered for our first quota change we need to adjust it to our requirements. Notice my setting is already set to 8 but yours may differ. Google changes the quotas change from time to time depending on capacity and whether you have set up your billing information. Check the box next to “Compute Engine API” and then click the “Edit Quotas”.

Most (all?) quotas on the Google Cloud Platform require approval from Google staff. You will be required to enter your contact information so the “approvers” can contact you when your quota increase is completed or if they have any questions.
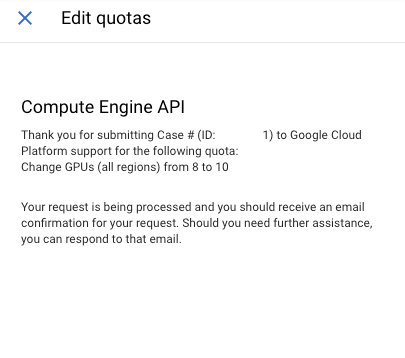
You will get a confirmation with a case ID. Google is very quick to respond to quota changes and personally have never had a request denied or take more than a few hours to be approved.
Change the GPUs Quota for a specific region.
Now that we have the quota for the amount of GPU’s for all regions, we will need to adjust GPU quota for the region we will building our compute instance. Changing this quote is exactly the same as all regions so I will try to consolidate the instructions.
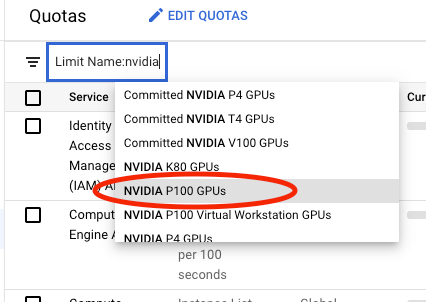
Go to the quotas interface, select “Limit Name” and search for “nvidia”. You should see a list of quotas for each GPU offered on the Google Cloud Platform. I am going to adjust the quota for the Nvidia P100 GPUs. At the time of writing this tutorial, the NVIDIA GPU’s available are Telsa T4, Tesla V100, Tesla P100, Tesla P4, and Tesla K80.
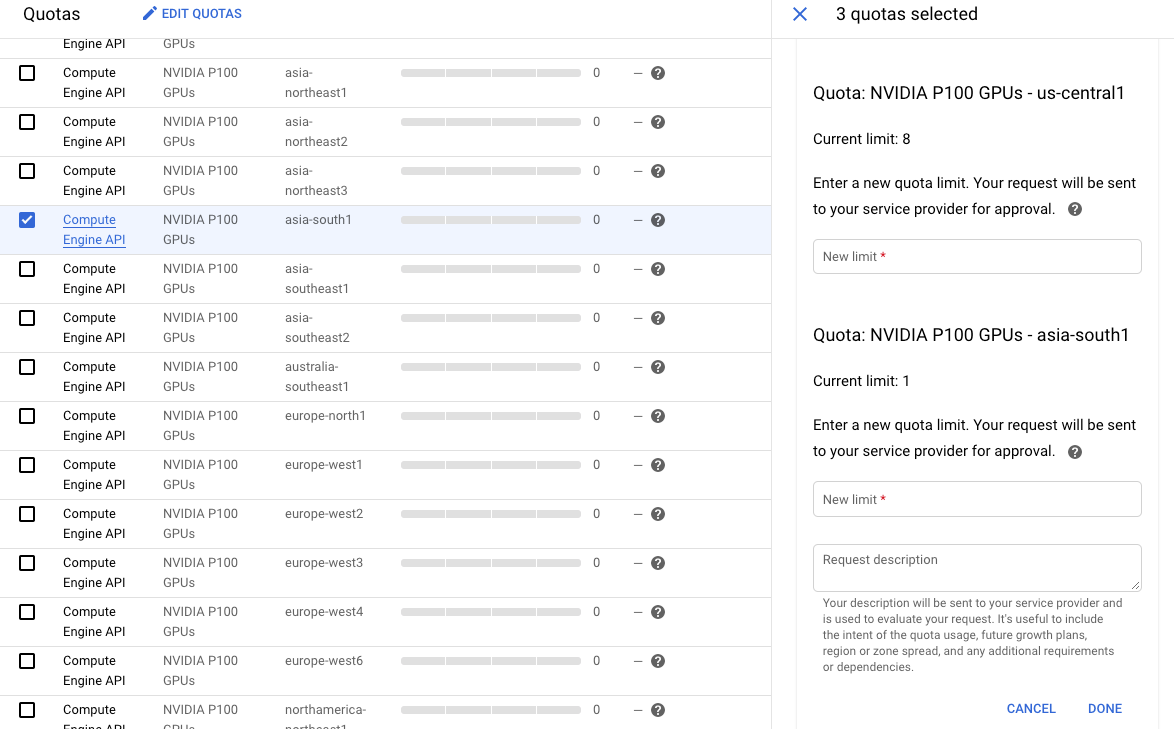
Select the region(s) that you would like to modify and go through the quota change submission process. You can change multiple regions with one submission and set a different quota for each. Remember you can not exceed the limit set for the GPUs (all regions) quota.
Select the region(s) that you would like to modify and go through the quota change submission process. You can change multiple regions with one submission and set a different quota for each. Remember you can not exceed the limit set for the GPUs (all regions) quota.
NOTE: Google gives you a $300 credit when you create a new Google Cloud account, but you need to enter payment info to get these quotas changed. Just remember when your $300 credit runs out,
you will get billed.
Create your new instance with GPUs for your Hashcat
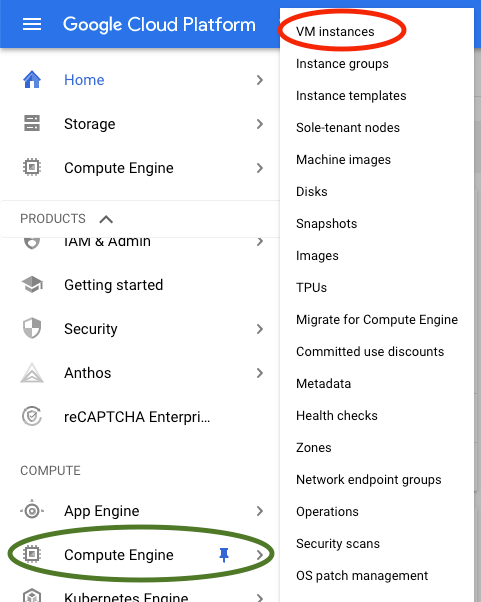
Click on the “Compute Engine” area on the Google Cloud Platform navigation menu and select “VM instances”
Click on “Create Instance”

For your new instance, give it a name (hashcat-6-0-0), make sure the Region is the region you got the quota increase in. In my case it is US-CENTRAL1.
The zone doesn’t really matter in this scenario, but you may have to change it if the GPU resources are not available.
The “Boot disk” I will be using is Deep Learning Image: Base m49 (with CUDA 10.0) because all the drivers we need will be installed and optimized without any configuration from me.
(If you want to use a different Linux flavor, just remember you will need to load the NVIDIA drivers.)
Click the “Customize” button to add GPUs

You can see I added made my instance have, 2 vCPU, 7.5GB RAM and added 8 NVIDIA Tesla V100s. I am only doing 8 GPUs in this example due to the limitations of my region/zone at the time I am writing this. I have had machines with up to 24 GPUs but it took a few tries to allocate the resources.
If you get an error like the one shown, just try a different zone in the region you want the instance to be created.

Update OS and install Hashcat 6.1.1
Now that we have our vm instance created with GPU allocated its time to install Hashcat.
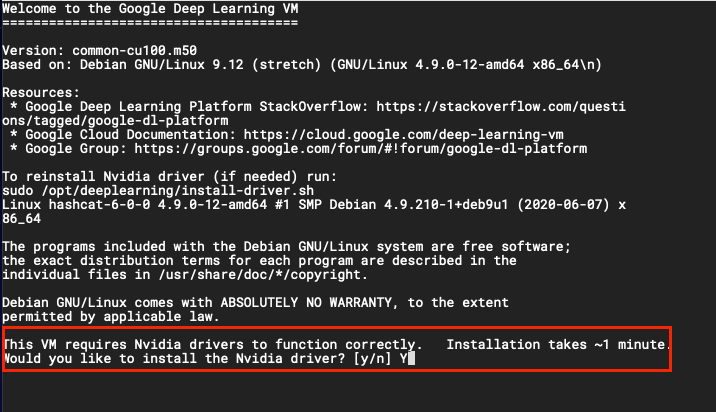
Log into your instance by clicking the SSH button.

You first access your instance you will be prompted to install the NVIDIA drivers.
Type “y” and then press <enter>
After the Nvidia drivers have installed, run the following command to update the instance OS:
sudo apt update && sudo apt upgrade -y
Install Hashcat
Download the latest version of Hashcat:
wget https://hashcat.net/files/hashcat-6.1.1.7z
Note: With the last update to this post, Hashcat is at version 6.1.1

Install Hashcat
Download the latest version of Hashcat:
wget https://hashcat.net/files/hashcat-6.1.1.7z
Note: With the last update to this post, Hashcat is at version 6.1.1
To un-archive the Hashcat files we must install p7zip:
sudo apt install p7zip-full -y
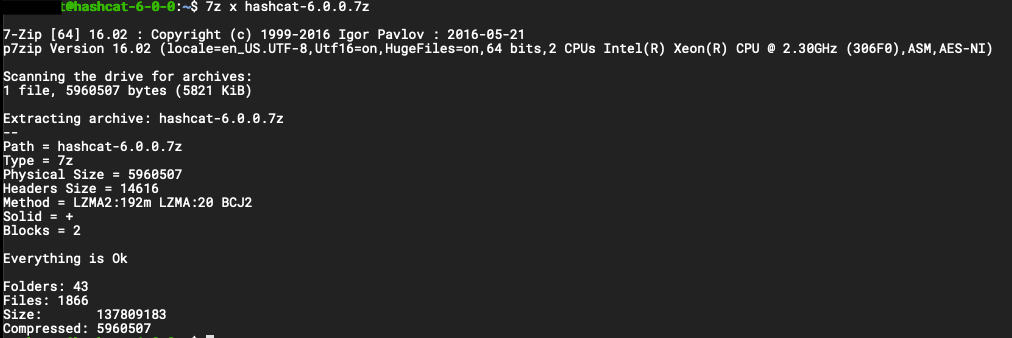
Use p7zip to extract the hash:
7z x hashcat-6.1.1.7z
Benchmark to verify Hashcat is working properly
There is no install procedure and Hashcat is ready to run after it is extracted. To test and make sure everything is working properly, we will perform a benchmark test by doing the following:
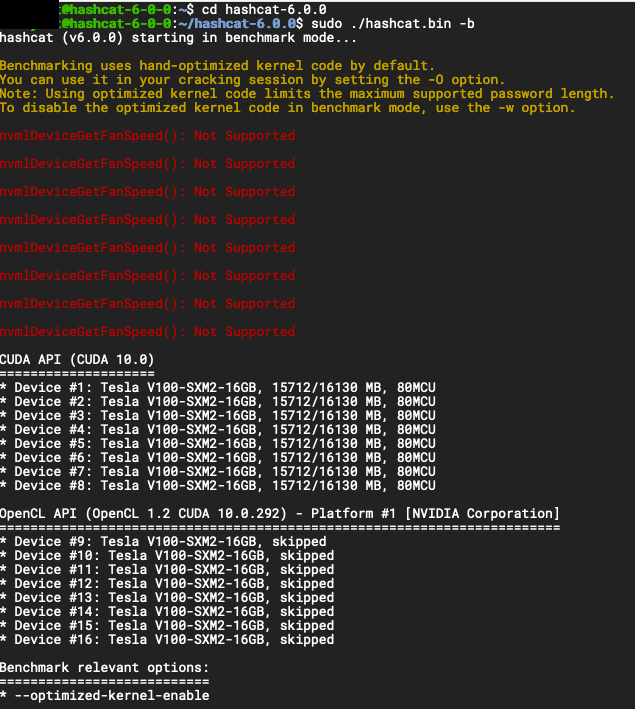
cd hashcat-6.1.1
sudo ./hashcat.bin -b
Note: You can safely ignore the fan speed errors.
That is all there is to it!
In just a few simple steps, you have a fully functional Hashcat 6.1.1 hash cracking machine in Google cloud with 8 NVIDIA V100 GPUs for ~$13.95 per hour. In addition to this setup, I have my wordlists, scripts, and supporting applications stored in storage buckets that I attach to these instances for quick easy access.
[For your refrence] gcloud command line to create an (8) NVIDIA V100 GPU instance as described in this tutorial:
gcloud beta compute --project= instances create hashcat-6-0-0 --zone=us-central1-c --machine-type=n1-standard-2 --subnet=default --network-tier=PREMIUM --maintenance-policy=TERMINATE --service-account=411297988291-compute@developer.gserviceaccount.com --scopes=https://www.googleapis.com/auth/devstorage.read_only,https://www.googleapis.com/auth/logging.write,https://www.googleapis.com/auth/monitoring.write,https://www.googleapis.com/auth/servicecontrol,https://www.googleapis.com/auth/service.management.readonly,https://www.googleapis.com/auth/trace.append --accelerator=type=nvidia-tesla-v100,count=8 --image=c1-deeplearning-common-cu100-v20200630 --image-project=ml-images --boot-disk-size=50GB --boot-disk-type=pd-standard --boot-disk-device-name=instance-1 --no-shielded-secure-boot --shielded-vtpm --shielded-integrity-monitoring --reservation-affinity=anyPrevPreviousHak5 C2 Deployed in Google CloudNextData Removal – Quick StartNext