Deploy Ghost Blog on Google Cloud with NGINX
GUIDE
Install Ghost Blog on Google Cloud
This tutorial will cover how to install the Ghost blogging platform on an Ubuntu Google Cloud Instance with Nginx and a Let’s Encrypt SSL certificate. Ghost is an amazing open-source blogging software coded in Node.js. Ghost allowing you to create modern blogs and integrates with a large about of third-party services with a click of a button. Ghost is extremely easy to use and very, very, very fast compared to other blog systems such as WordPress. With the latest 3.x release Ghost native features even includes the abilty to turn part or all of you site into a subscription or membership service.
For a full list of features visit
Ghost.orgCreate a Compute Engine Instance
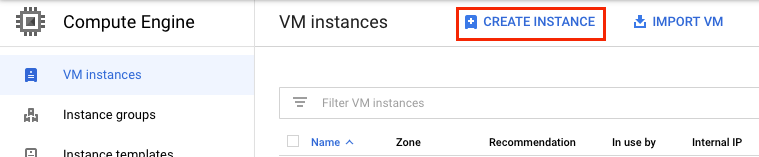
Login to your Google Cloud Console and go to Compute Engine.
Click on “Create Instance” at the top:
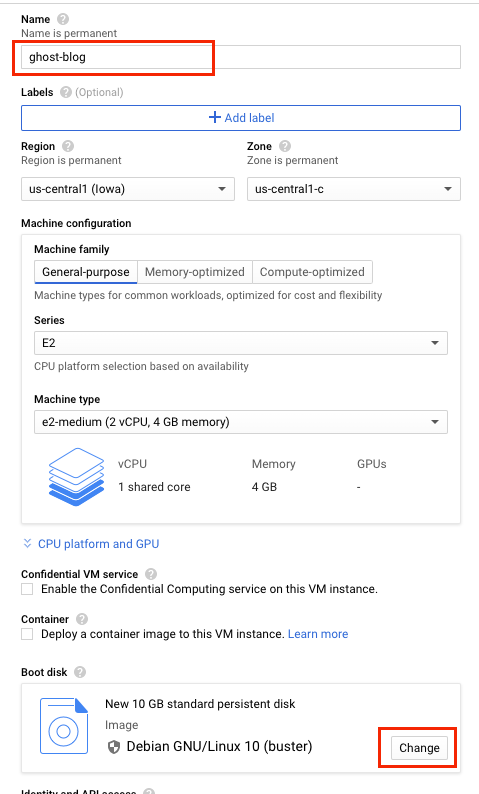
Name the instance. I am naming my instance “ghost-blog”. Then go down to “Change” under Boot Disk.
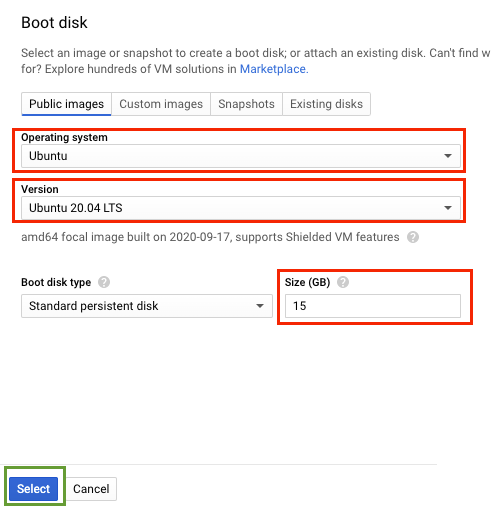
Change the OS to Ubuntu 18.04 LTS and increasing the storage to 15GB. After you make the changes click “Select”.
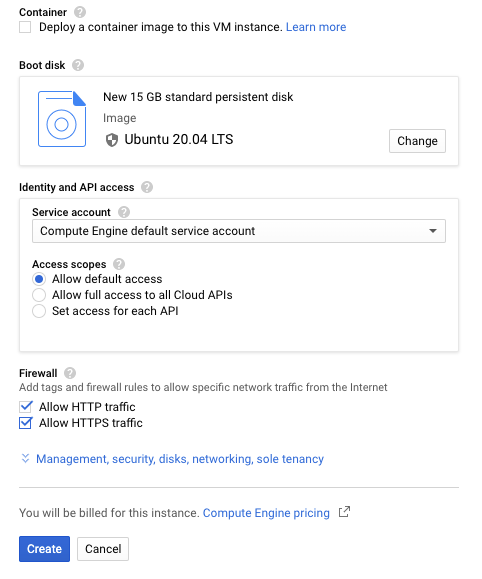
Make sure you select “Allow HTTP” and “Allow HTTPS” then click “Create”
[For your refrence] gcloud command line to this instance as described in this tutorial:
gcloud beta compute --project=XXXXXX-XXXX instances create ghost-blog --zone=us-central1-c --machine-type=e2-medium --subnet=default --network-tier=PREMIUM --maintenance-policy=MIGRATE --service-account=411297988291-compute@developer.gserviceaccount.com --scopes=https://www.googleapis.com/auth/devstorage.read_only,https://www.googleapis.com/auth/logging.write,https://www.googleapis.com/auth/monitoring.write,https://www.googleapis.com/auth/servicecontrol,https://www.googleapis.com/auth/service.management.readonly,https://www.googleapis.com/auth/trace.append --tags=http-server,https-server --image=ubuntu-1804-bionic-v20200923 --image-project=ubuntu-os-cloud --boot-disk-size=15GB --boot-disk-type=pd-standard --boot-disk-device-name=ghost-blog --no-shielded-secure-boot --shielded-vtpm --shielded-integrity-monitoring --reservation-affinity=any
Install Ghost Prerequisites
Connect to the terminal of your instance by clicking the “SSH” button.

First, we need to add a user for the install of Ghost and its required components. It is possible to run Ghost with the default account, but it is not recommended.
Create a user to run Ghost:
Add the user to the sudo group:
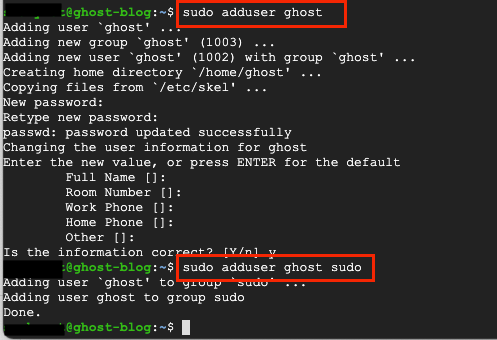
Now we need to switch to that user:
su - ghostuser

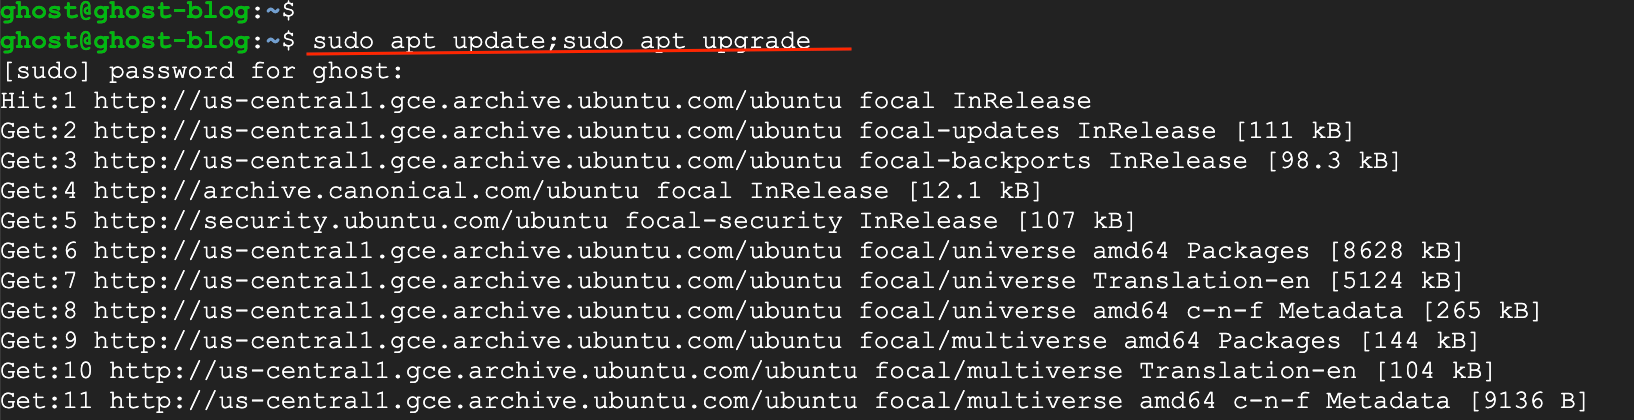
As always with a new Compute Instance, we need to update the OS:
sudo apt update;sudo apt upgrade
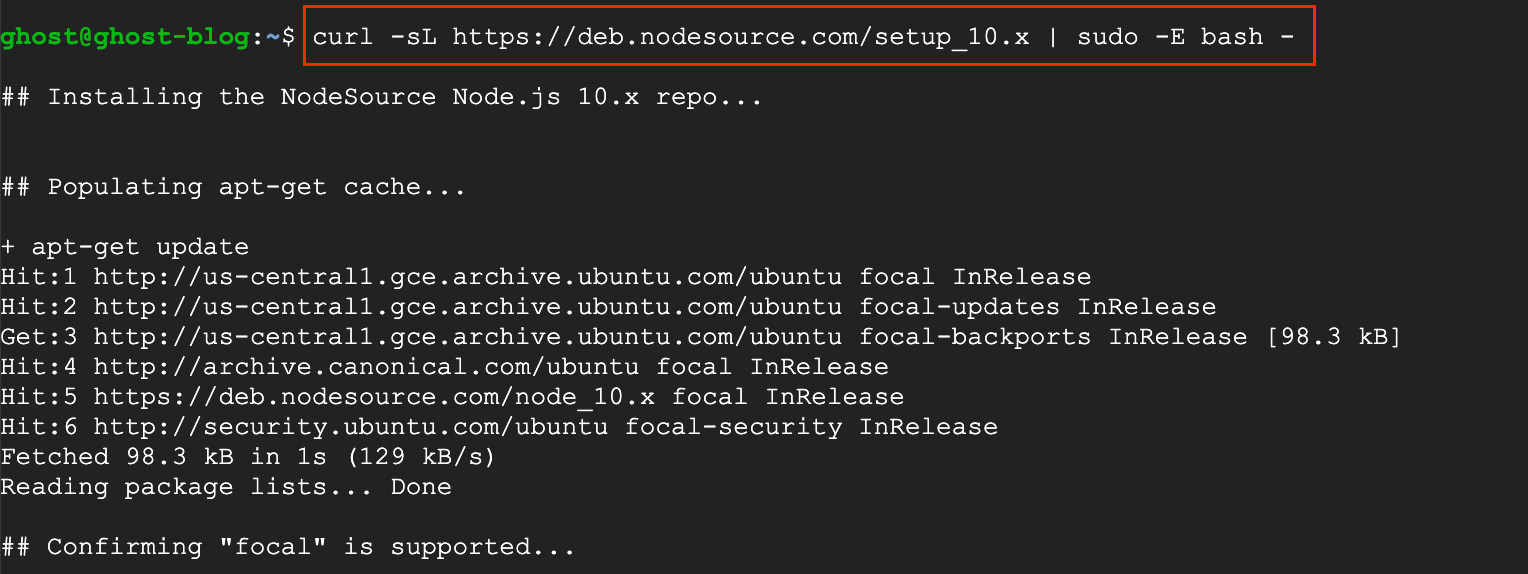
Install Node.js
First we must add the Node.js v10.x repository:
curl -SL https://deb.nodesource.com/setup_10.x | sudo -E bash -
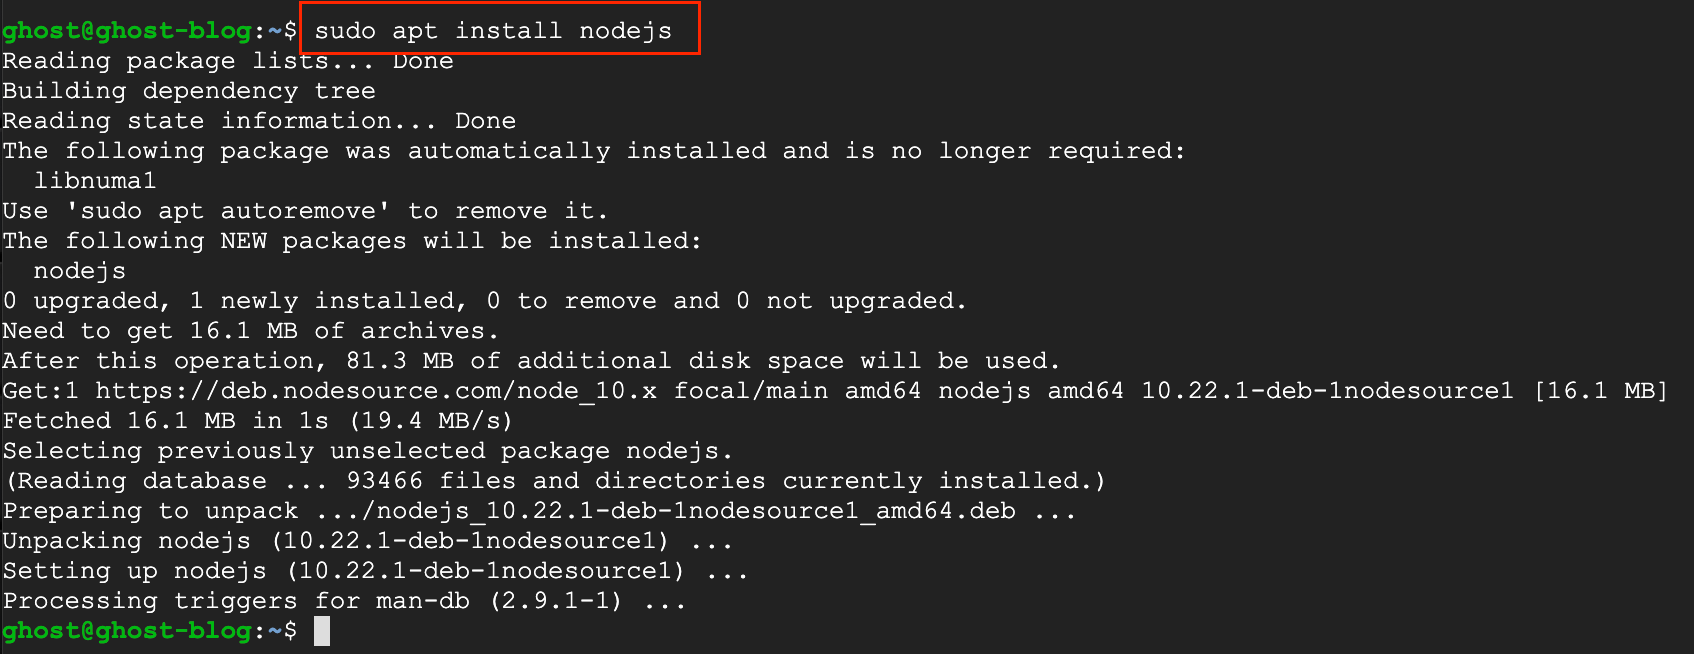
Now we can install Node.js:
sudo apt install nodejs
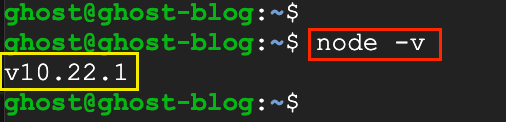
We need to verify the Node.js version:
node -v
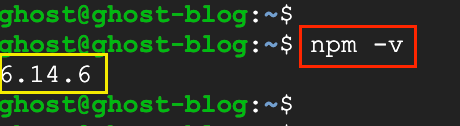
We need to verify the NPM version:
npm -v
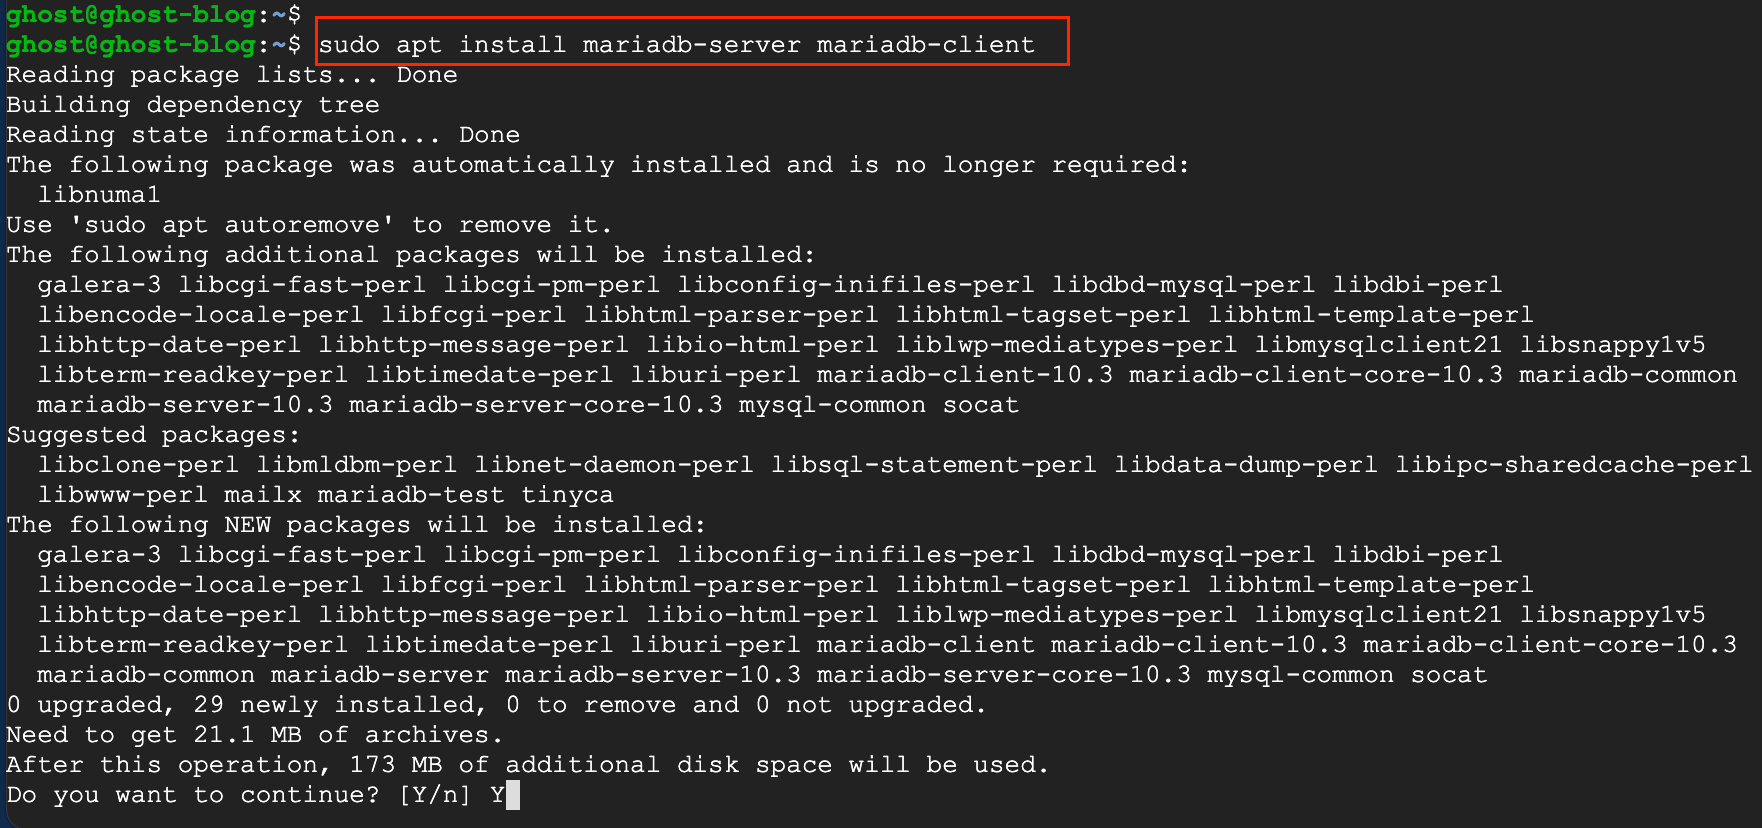
Install MariaDB Database Server
Install the MariaDB server using the following command:
sudo apt install mariadb-server mariadb-client
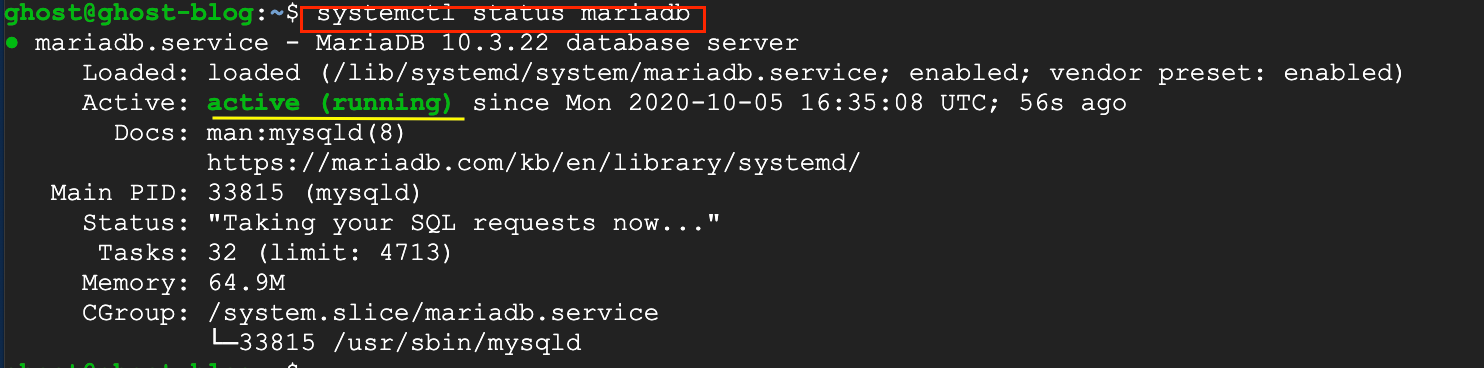
Verify that the MadiaDB server installed properly and is running:
systemctl status mariadb
Enable MariaDB to run at boot:
sudo systemctl enable mariadb

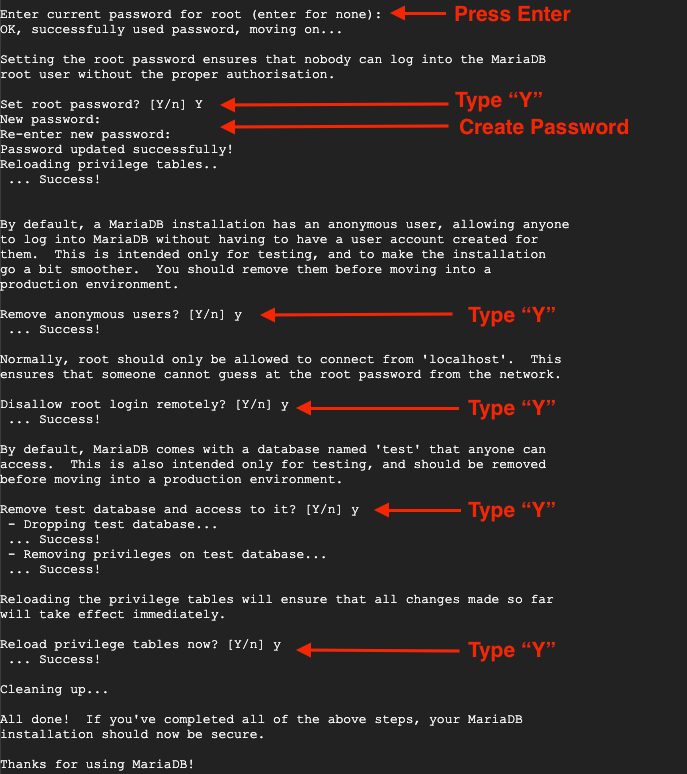
Now we need to secure our MariaDB server using the MySQL Secure script:
sudo mysql_secure_installation

You will be prompted for a series of questions, below is our recommended answers.
Set Root Password? Yes
New Password: <somepassword>
Re-enter new password: <comepassword>
Remove anonymous users? Yes
Disallow root login remotely? Yes
Remove test database and access to it? Yes
Reload privilege tables now? Yes
Create a database for Ghost
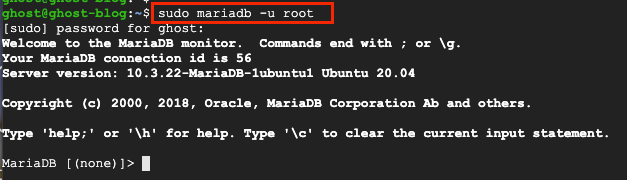
Log in to MariaDB:
sudo mariadb -u root
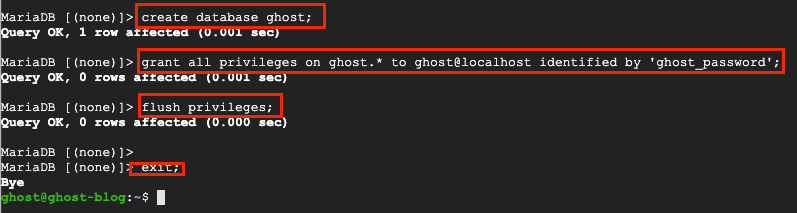
Create a database for Ghost to use.
Be sure to change “ghost_password” to a strong unique password.
create database ghost;
grant all privileges on ghost.* to ghost@localhost identified by 'ghost_password';
flush privileges;
exit;
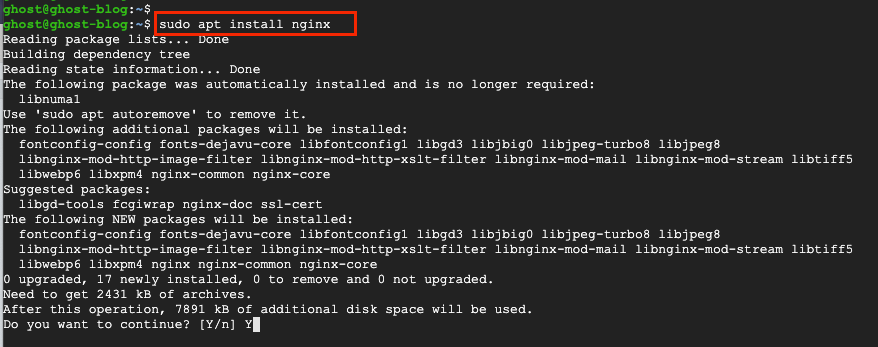
Install Nginx
Install Nginx:
sudo apt install nginx
Install Nginx:
sudo apt install nginx
Install Ghost
Install the Ghost-CLI
sudo npm install ghost-cli@latest -g

We need to create a dirctory for our Ghost blog files:
sudo mkdir -p /var/www/ghost/

Adjust permission to the directory we just created :
sudo chown ghostuser:ghostuser /var/www/ghost
sudo chmod 775 /var/www/ghost

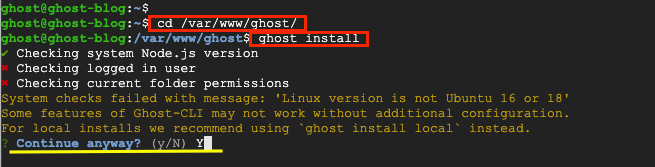
Now we can install Ghost into our directory:
cd /var/www/ghost
ghost install
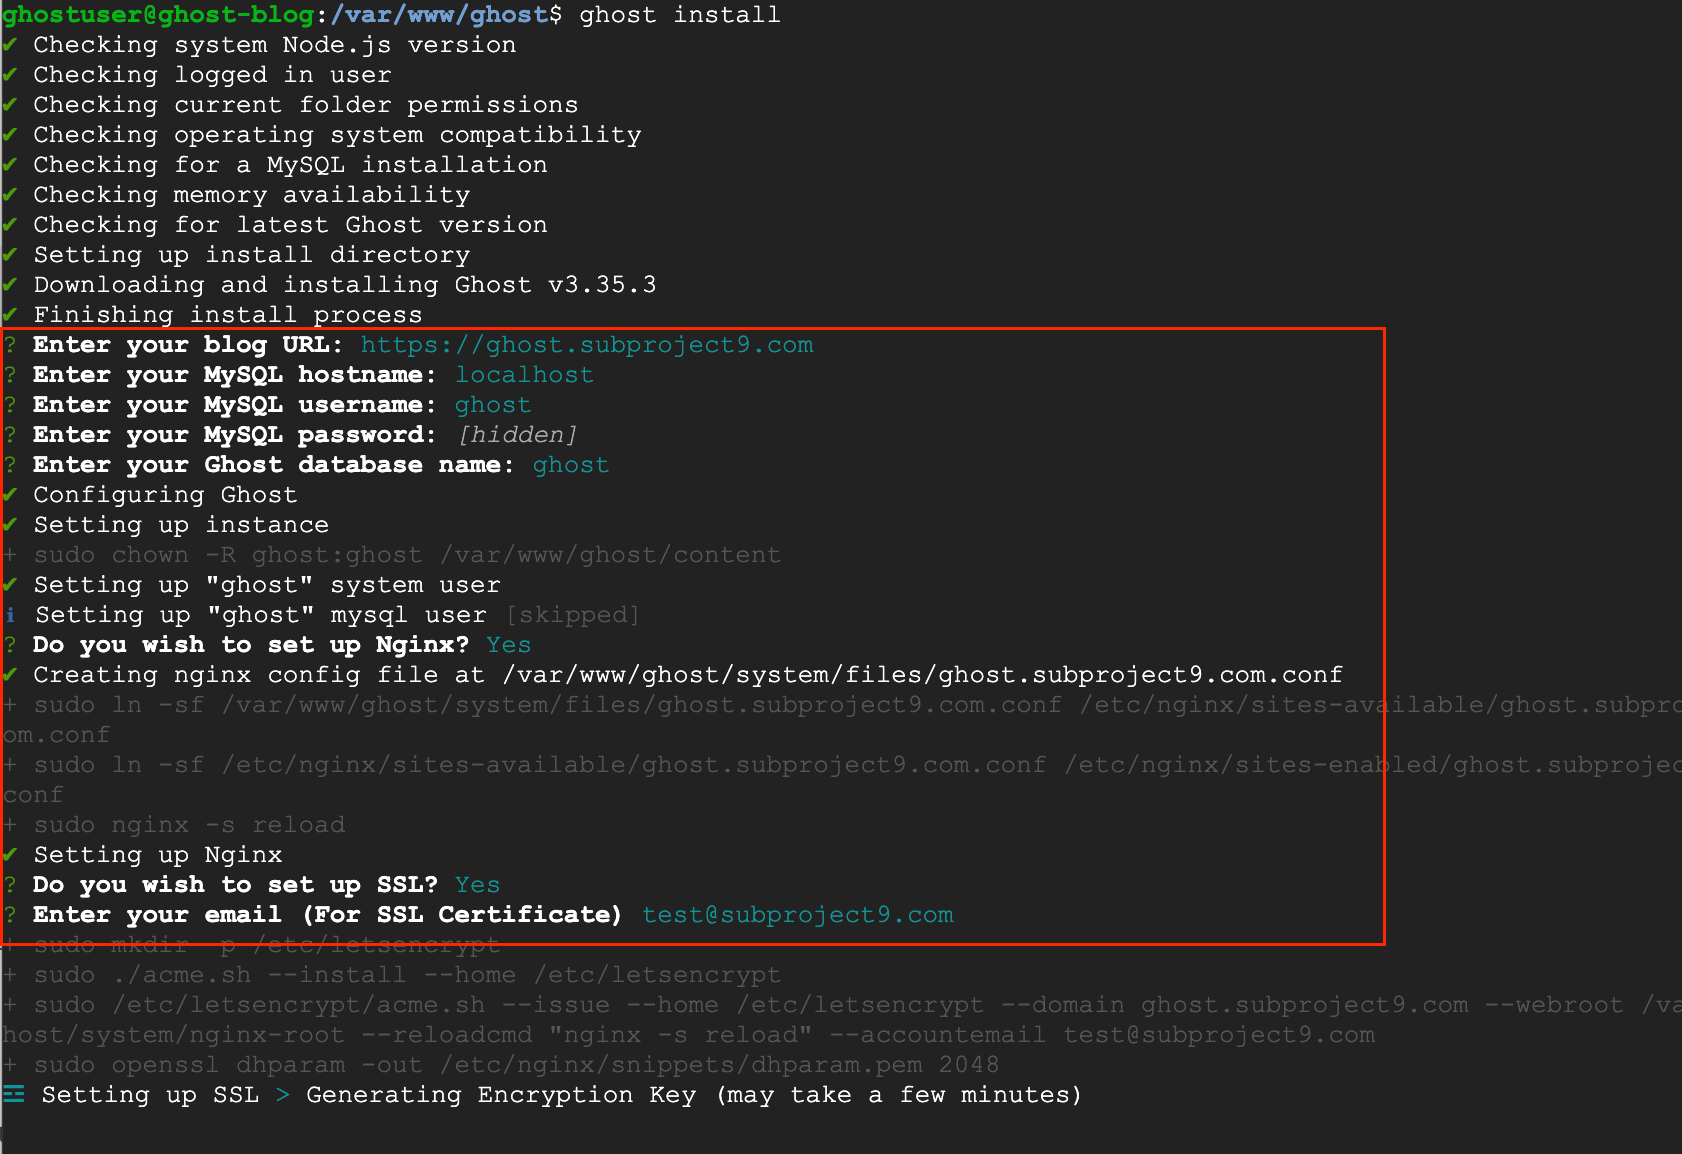
When prompted enter the following information:
Enter your blog URL: https://yourdomain.com
Enter your MySQL hostname: localhost
Enter your MySQL username: ghost
Enter your MySQL password: ghost_password
Enter your Ghost database name: ghost
When prompted enter the following information:
Enter your blog URL: https://yourdomain.com
Enter your MySQL hostname: localhost
Enter your MySQL username: ghost
Enter your MySQL password: ghost_password
Enter your Ghost database name: ghost
When prompted “Do you wish to set up Nginx?”, say YES
When prompted “Do you wish to set up SSL?”, say YES
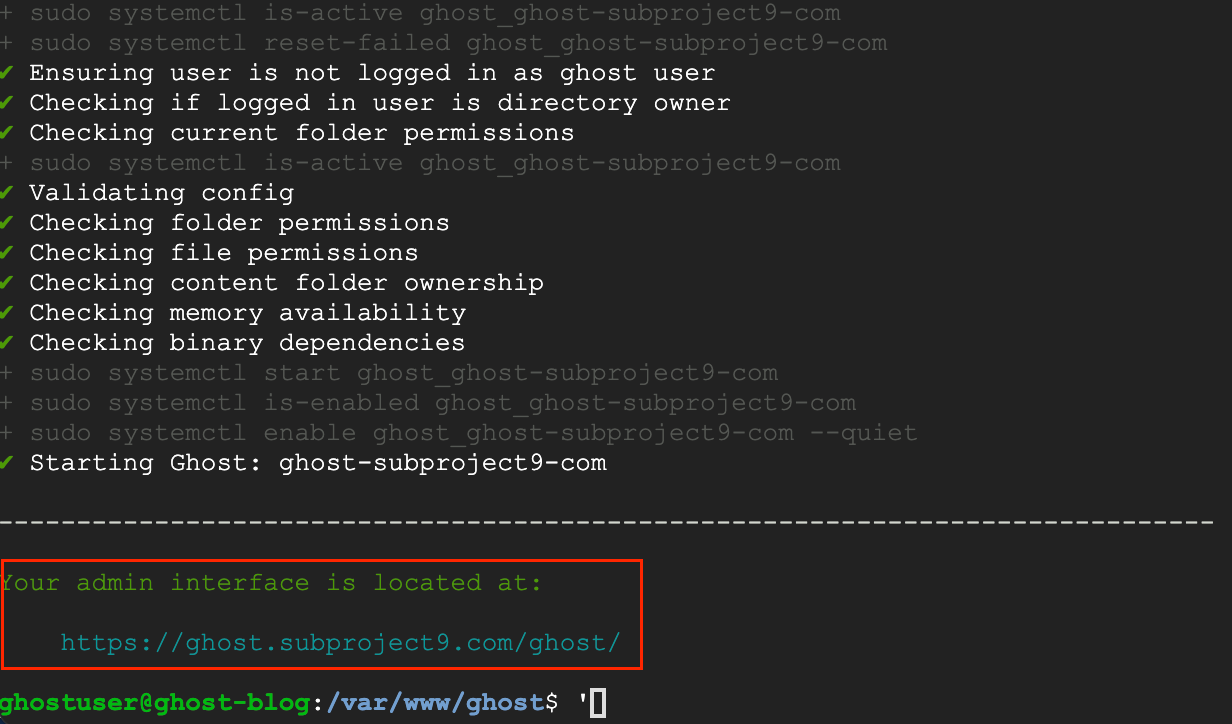
When prompted “Do you with to set up Systemd?”, say YES
When prompted “Do you want to start Ghost?”, say YES

When prompted “Do you with to set up Systemd?”, say YES
When prompted “Do you want to start Ghost?”, say YES
Setup will continue and start Ghost
NOTE:
If you get the error “ER_TOO_LONG_KEY: Specified key was too long; max key length is 767 bytes”
Run the following commands to fix this error:
sudo mysql -u root
SELECT TABLE_NAME, ROW_FORMAT FROM information_schema.TABLES WHERE TABLE_SCHEMA="$DB_NAME" AND ROW_FORMAT != 'DYNAMIC' AND ROW_FORMAT != 'COMPRESSED';
exit;
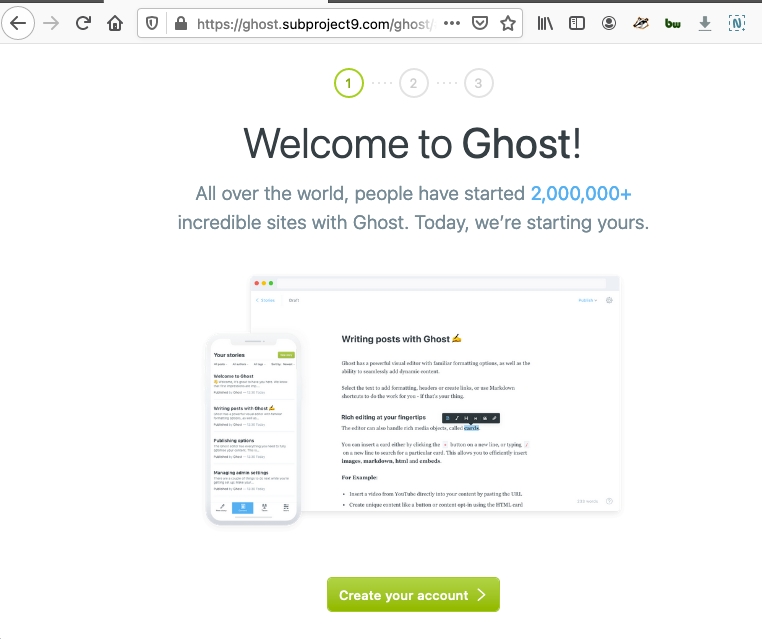
Ghost is now running on https://yourdomain.com
Optional - Configure Nginx for both www. and yourdomain.com
This section is purely optional and possibly unnecessary if you are using a domain name that might not require a “www.” address.
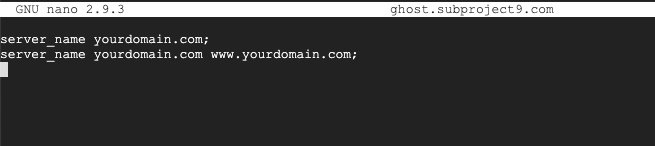
First we need to make a few changes to the Nginx configuration file:
sudo nano /etc/nginx/sites-enabled/yourdomain.com.conf

Add the following lines to the configuration file:
server_name yourdomain.com;
server_name yourdomain.com www.yourdomain.com;
Now we must remove the current SSL configuration so we can generate new certificates:
sudo rm /etc/nginx/sites-enabled/yourdomain.com-ssl.conf

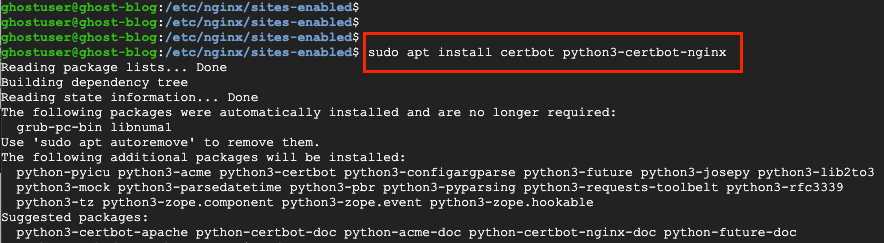
To generate and install the new Let’s Encrypt SSL certificates we will need to install Certbot:
sudo apt install certbot python3-certbot-nginx
Once Certbot is installed, run the following command to generate SSL certificates for both www.yourdomain.com and yourdomain.com:
sudo certbot --nginx --agree-tos --redirect --hsts --staple-ocsp --email [email protected] -d yourdomain.com,www.yourdomain.com
All that is left is to restart Nginx for the changes to take effect:
sudo systemctl restart nginx
PrevPreviousData Removal – Quick StartNextTop Opt Out SitesNext