google cloud kali linux

Guide

Deploy Kali Linux on Google Cloud

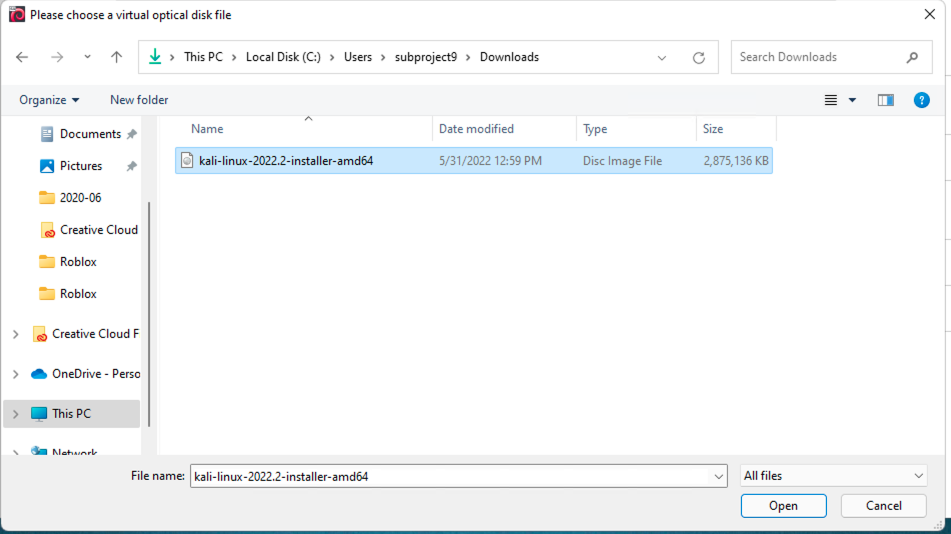
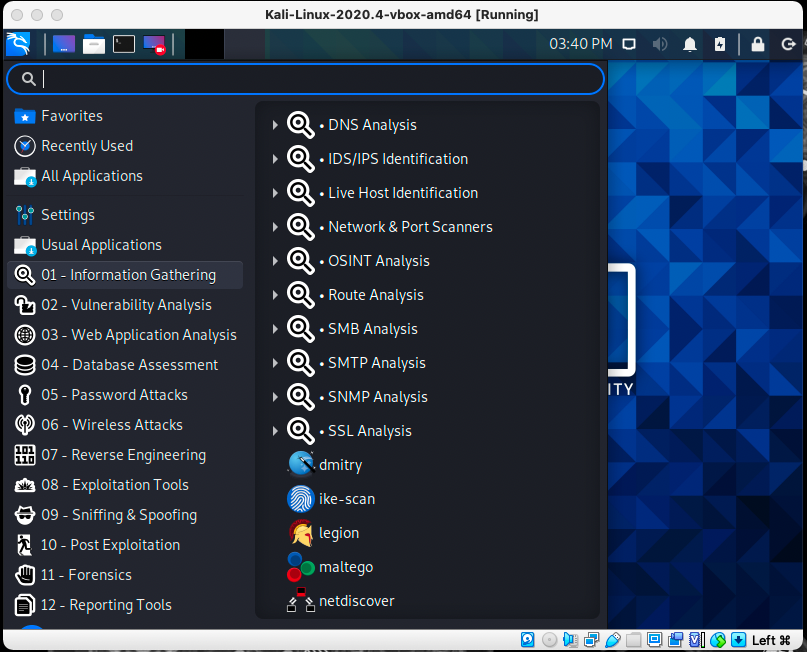
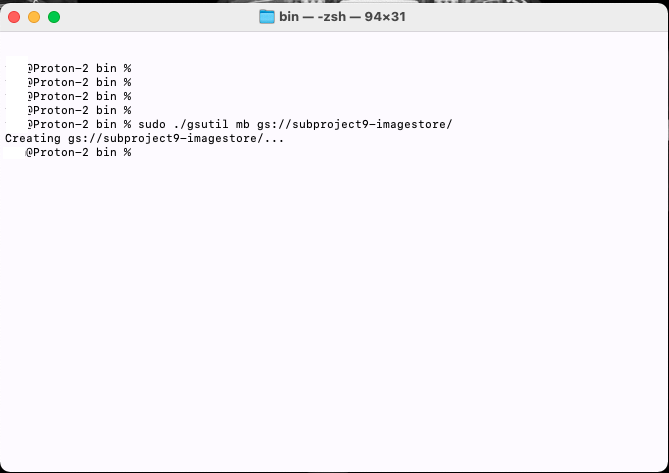
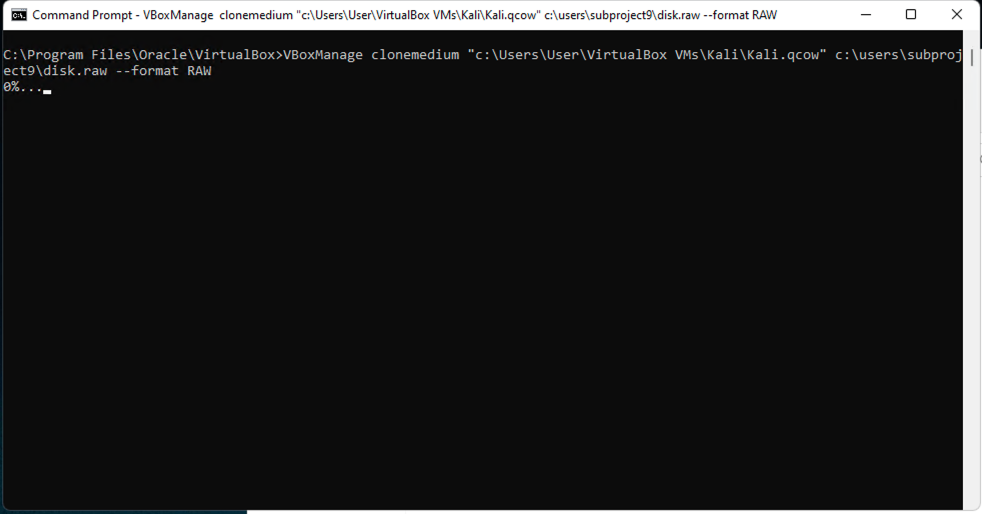
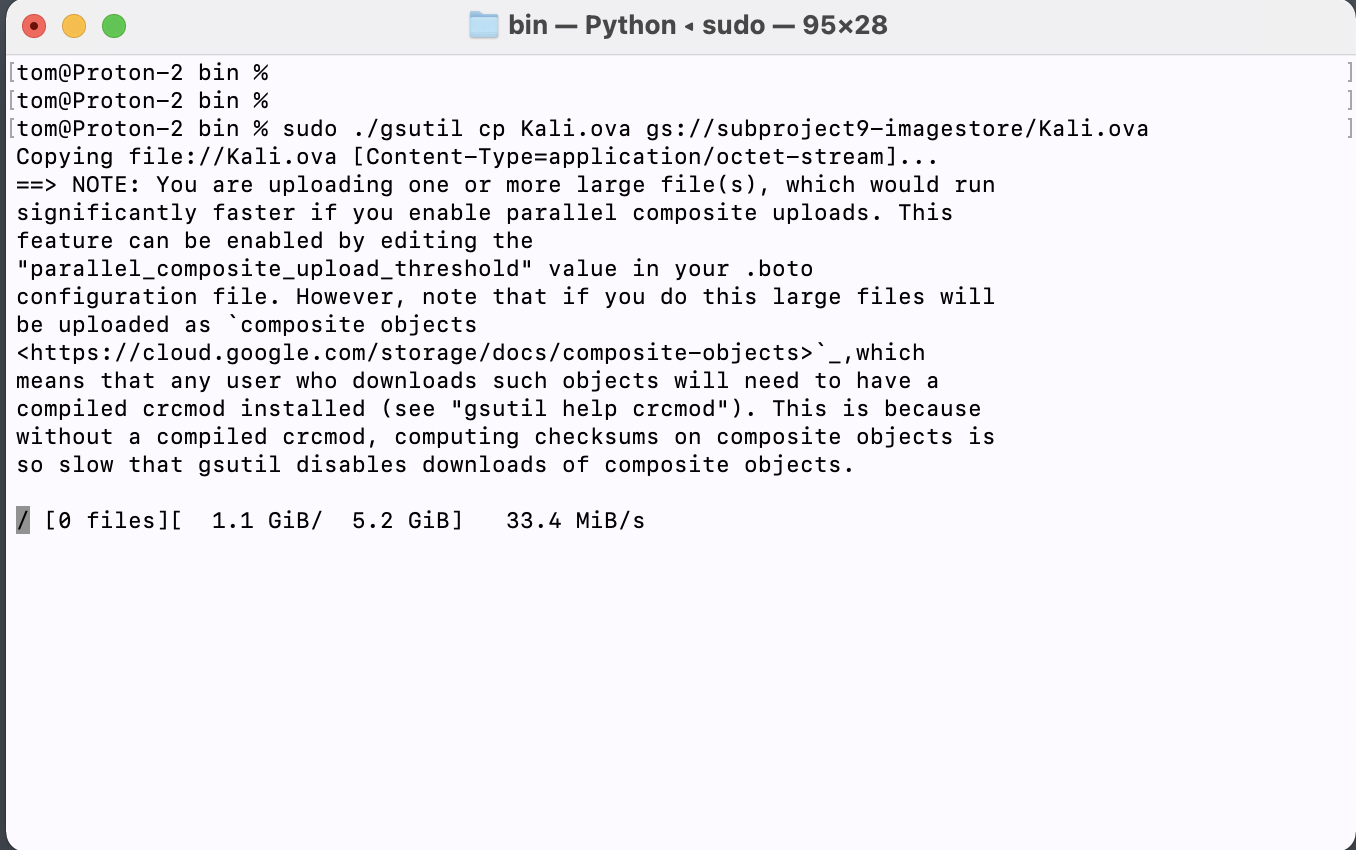
I work a lot with cloud providers such as Amazon AWS, Azure, and occasionally Google Cloud.  Personally, I really like the Google Cloud but using it as a platform for pen-testing has always been a little troublesome due to the fact I can’t just spin up a Kali Linux VM from a marketplace.  In this post, I will show you how I create a custom Kali Linux Google Compute Engine instance.   This method’s disadvantage is that it is time-consuming to upload your base Kali Linux OVA, but once you have it uploaded deployment of a Kali Linux instance is fast and easy.

What you need to start:


*Once you have that all downloaded install VirtualBox and Google Cloud SDK.

Assumptions on my part:
I am assuming you already have a Google Cloud account and have some idea how everything works.

Recommended Reading:

Build Kali Linux Virtualbox

Create a new VM in Virtual Box

Create a new VM

Click “New” to create a new VM

Name:  Kali
Type:  Linux
Version:  Debian (64-bit)

Click “Next”

Set your RAM amount:

In this build I am setting the RAM to 4GB.

Click “Next”

Create a virtual hard disk

Click “Next”

Click “Expert Mode”

Set File Size to 20GB

Set Hard disk file type:  QCOW (QEMU Copy-On-Write)

Click “Create”

Edit Kali VM

Select the Kali VM

Click “Settings”
Select System and uncheck “Floppy” in Boot Order

Click “Network”
Select “Advanced” and set Adapter Type “Paravirtualized Network (virto-net)”

Click “Ok”

Click “Storage”
Select “Live CD/DVD” for Controller: IDE

Install and Configure Kali Linux

Install Kali Linux

Download the Kali “Bare Metal 64-bit” ISO
https://www.kali.org/get-kali/#kali-bare-metal

Set the Kali VM to boot from the Kali Install ISO:
Click “Devices” -> “Optical Drives” -> Select “Choose a disk file”

Select the Kali ISO file that was downloaded.

Select your Language, location and Keyboard layout, click “Continue”

Set a name for your install
Set your username and password
Configure your timezone


*Important* Manual Disk Configuration

Partition disks, select “Manual”

Select the virtualbox disk “SCSII (0,0,0)

“Create new empty partion table on this device?”  – Select “Yes”

Select the new partition that was created “pri/log 21.5 GB” – Click “Continue”
   Select “Create a new partition” – Click Continue
   Set new partition size to “max” – Click Continue  
   Set partition type to “Primary” – Click Continue
   Select “Done setting up the partition” – Click Continue
Select “Finish partitioning and write changes to disk” – Click Continue

Select “Done setting up the partition” – Click Continue

If prompted to return to the partition menu due to swap space select “No” – Click Continue


Write the changes to disk? Select Yes – Click Continue

Continue the install per your requirements.
 

Configure Kali Linux

As with any new Kali Linux install, we need to update the OS to start from a current state.  The following commands will update and upgrade the Kali OS, all installed applications and clean up anything not being used anymore.

sudo apt update
sudo apt upgrade
sudo apt dist-upgrade
sudo apt autoremove 


Enable SSH

Set the root password

$ sudo -i
# passwd
# New Password:
# Retype New Password:


Modify SSH Configuration File

nano /etc/ssh/sshd_config

Un-hash (#) the following lines:
PermitRootLogin yes
Password Authentication yes

Permanently enable the SSH service to start on every reboot

systemctl enable ssh.service
systemctl start ssh.service
systemctl status ssh.service

Customizations

Now that we have the basic requirements for running and accessing your Kali Linux using SSH you can add any other customizations that you will need.  I prefer to keep the base build and script any additional software as needed for the engagement I am using it for.  That was I can start any project with a documented base build.

You need may differ though.  If you need or want GUI access you can install VNC.  Some companies like to “brand” their OS builds and add custom backgrounds.  Whatever your needs base requirements are feel free to do complete them at this point.

After you have completed all your customizations it time to shut down your VirtualBox Kali Linux VM.  

Install Kali Linux on Google Cloud

Export

First we need to create a storage bucket to store the image so we can upload it.  If you already have a storage bucket created and have the appropriate permissions you can skip this step.

To create a google storage bucket, run the following command:

gsutil mb gs://subproject9-imagestore/

Remember your bucket name must be unique and contain only lower-case letters.

Note: 
If you need help installing the Google Cloud SDK:
https://cloud.google.com/sdk/docs/install

Export Kali Linux VirtualBox

We need to get the Kali Linux VM to a format that Google Cloud can use.  To do this we will need to export the VM disk image to disk.raw format.

Open WIndows Command Prompt and type:
cd "\Program Files\Oracle\VirtualBox"
c:\Program Files\Oracle\VirtualBox>

Export the disk using VBoxManage:

VBoxManage clonemedium “C:\Users\User\VirtualBox VMs\Kali\Kalic.qcow” c:\users\subproject9\disk.raw –format RAW

Note:  Use the path to where you have your VM stored.

Import the Image to Google Compute Engine

Enable the Cloud Build API

To be able to build a compute instance from an OVA file you need to enable the Cloud Build API.  To do this by issuing the following command:

gcloud services enable cloudbuild.googleapis.com

 Or you can enable the API by using the Google Cloud Console and searching for “Cloud Build” and clicking the “Enable the Cloud Build API” button.

Note:
Make sure your account has the following permissions:

roles/iam.serviceAccountTokenCreator
roles/compute.admin
roles/iam.serviceAccountUser
 

Upload Kali Linux Image to Google Cloud

Now, we have to upload the image into the storage bucket.  To do this we first need to navigate where you exported VirtualBox image files are.   In this example my image name is Kali.ova, if you have multiple images you can change the name with version number or dates.

To upload your image, navigate to the folder containing the image, and run the following commands:

gsutil cp disk.raw gs://subproject9-imagestore/disk.raw

Now, just sit back, have a cup of coffee, and wait for the file copy to finish

Create a Kali Linux Compute Instance

To create your Kali Linux compute instance, just run the following command:

gcloud compute instances import kali-instance1 \
    --os=debian-9 --source-uri=gs://subproject9-imagestore/disk.raw \
    --custom-cpu=2 --custom-memory=2048MB

If your account does not have the appropriate permission, this command will try to add the appropriate permissions.

Now just log into the Google Compute Engine Console https://console.google.com/compute to connect to it via SSH.  

Repeat the above command anytime you want to spin up a new instance of Kali Linux image.

Helpful Google SDK Commands:

List all compute instances:
gcloud compute instances list
List all compute instances with IP addresses:
gcloud compute addresses list